Online classes are booming during lockdown: millions of people are stuck at home, trying to stay active, learning a new skill, or simply looking for a way to keep kids entertained.
Many have realized these activities can be done from the comfort of their own home. Some fitness entrepreneurs even believe that only
Looks like it’s time to learn how to sell an online course. If you’re a fitness professional, coach, teacher, or expert ready to share your insight, read on to find out how to use
In this post:
- Why Sell Online Courses From Your Own Website?
- How Do I Create an Online Course Website?
- How Do I Sell a Course on My Website?
- What Else You Can Sell on Your Website
Why Sell Online Courses From Your Own Website?
You can sell online classes on various platforms or on your own website. Here’s why you may find the latter more preferable:
- You don’t have to share your revenue. Some services take up to 50% of the instructors’ revenue which significantly decreases their profits. Moreover, sometimes you’re required to price your classes or courses according to their guidelines.
- You have total control! And decide how you want to promote your online classes and interact with your clients.
- The ability to adjust its content or duration as you find necessary. Some platforms set conditions: “no less than 5 lessons in a course” or “no less than 30 minutes of video”. Though it’s meant to ensure higher quality content, some instructors may find it restricting.
- Your own website contributes to building your personal brand. Happy and satisfied clients are the best referrals, and you want them to recommend your website to their friends, not the platform you sell your course on.

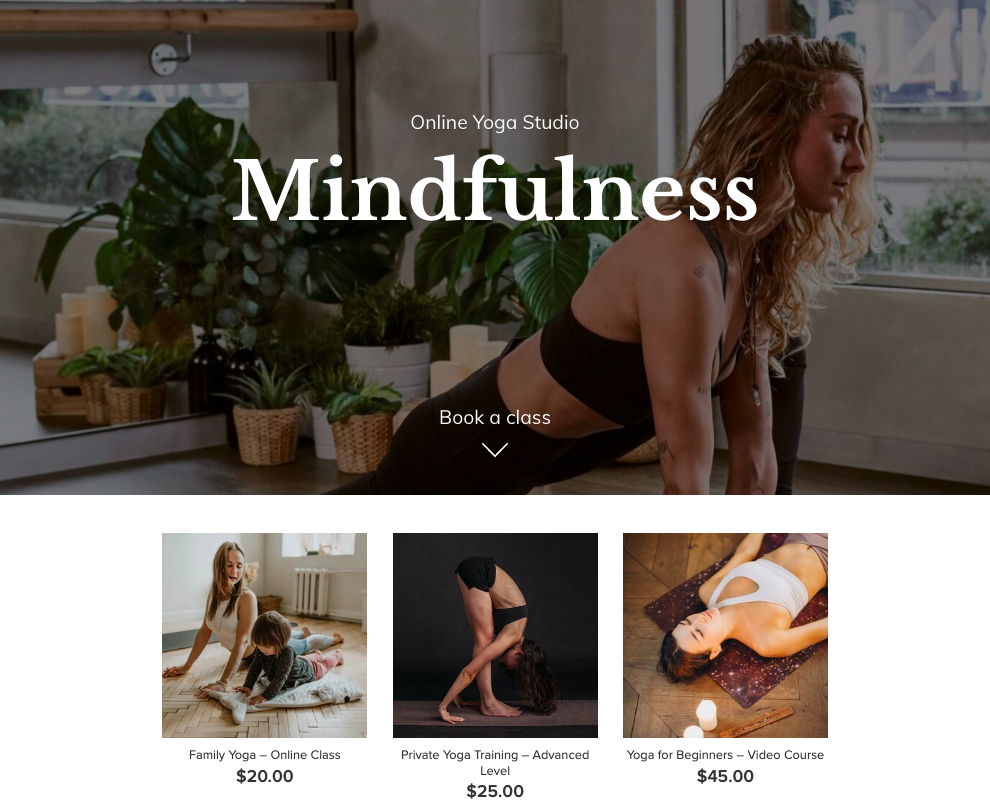
An example of a website that sells online classes
How Do I Create an Online Course Website?
With a variety of classes and courses online, you need to make sure your website helps visitors understand: “That’s just what I need!” To do that, you need to prove your expertise, show credibility, explain the benefits of your service and answer all possible questions.
Let’s find out how to quickly set up a website that markets your services the best way.
The fastest way to set up your site is to sign up with Ecwid

In a new window you’ll see your website content that you can edit.
If you have a domain name, you can link your website to it in “Address Settings.” If you don’t have your own domain, Ecwid provides you with a free address in the form of “mystore.company.site”.
You can click “Themes” to choose a look for your store from our collection. Each theme is customizable: you can change texts, fonts, images, colors, and layouts.
After that, you can add content to your site sections. You can change the headline of each section to better fit your business, hide some blocks and change their position on the website.
“Headline & Cover Image”. Your site’s cover is a

The “Store” section contains the services you sell. Here you can also live stream your webinars. We’ll explain how to add content to this section in detail a bit later.

The “Company’s Mission” section is a place to introduce your course as a solution to the problem that your clients are facing. State who may need your services and how your classes or webinars are the solution. You can also use this section to share a short FAQ with commonly asked questions about your course.

The “Customer Testimonials” section is a place to share feedback from your past students or clients. It helps build social proof and boosts your credibility. Learn more about using testimonials on your Instant Site.

The “About” section introduces you as an expert and explains why people should trust you to teach or train them. Share your achievements and showcase your expertise here.

The “Location” section allows you to share your office details if you have a physical location. You can hide this section if you want.

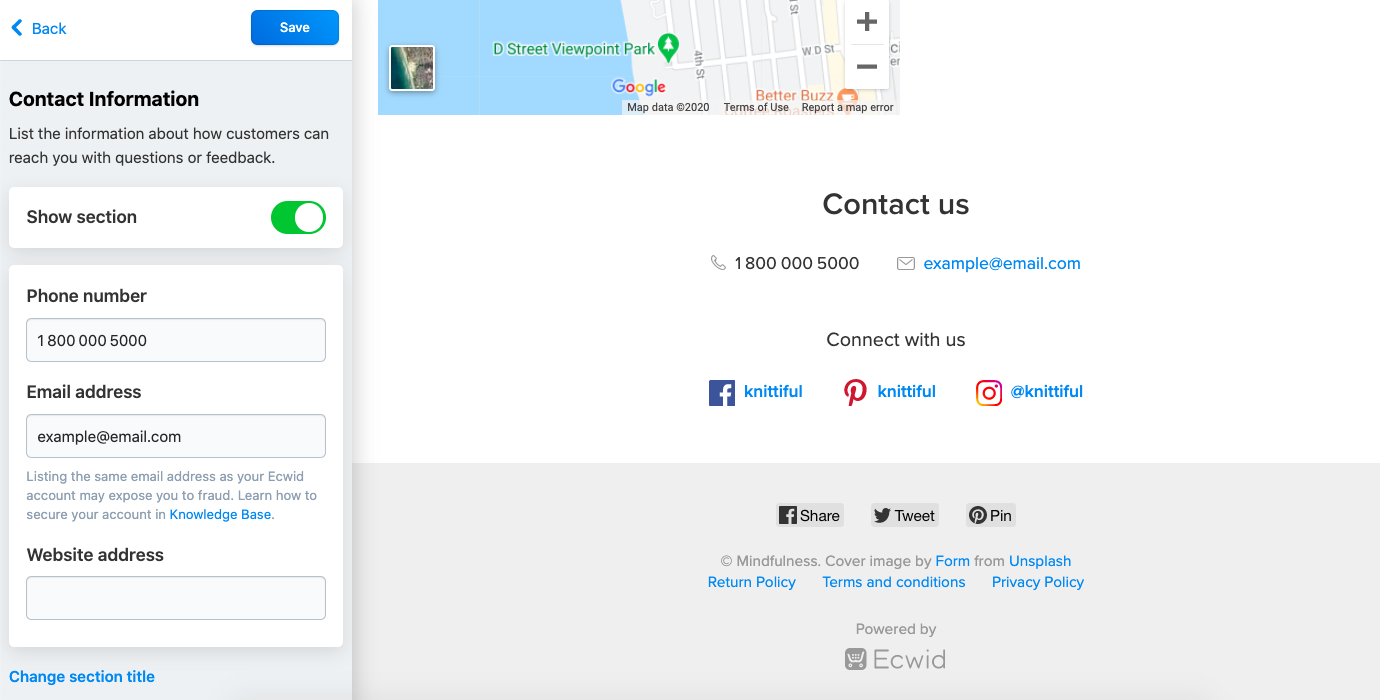
The “Contact Information” section is to provide your email, phone number, and links to your social media pages.

If you already have a website or a blog
Even if you taught classes offline or trained your clients in a gym, you might have a blog or a website with your portfolio. You can sell online courses directly on your existing site or blog: you can add a whole storefront to it or just a single “Buy Now” button. Also, you can add “Buy Now” buttons that allow you to sell your course on partner websites or blogs.
How Do I Sell a Course on My Website?
Now that your website is ready, let’s explore how to sell training courses online with Ecwid. You can choose one way that’s more convenient for you and your clients, or combine several options.
If you have
If you give lessons or train via an online conference in the
If you do webinars, you can choose a more advanced option and automatically invite your clients to a webinar when they make a purchase. To do that, you’ll need to use the apps and services connector Zapier to connect your Ecwid account with a webinar service of your choice.
Now let’s explore each option step by step.
How do I sell video lessons on my website?
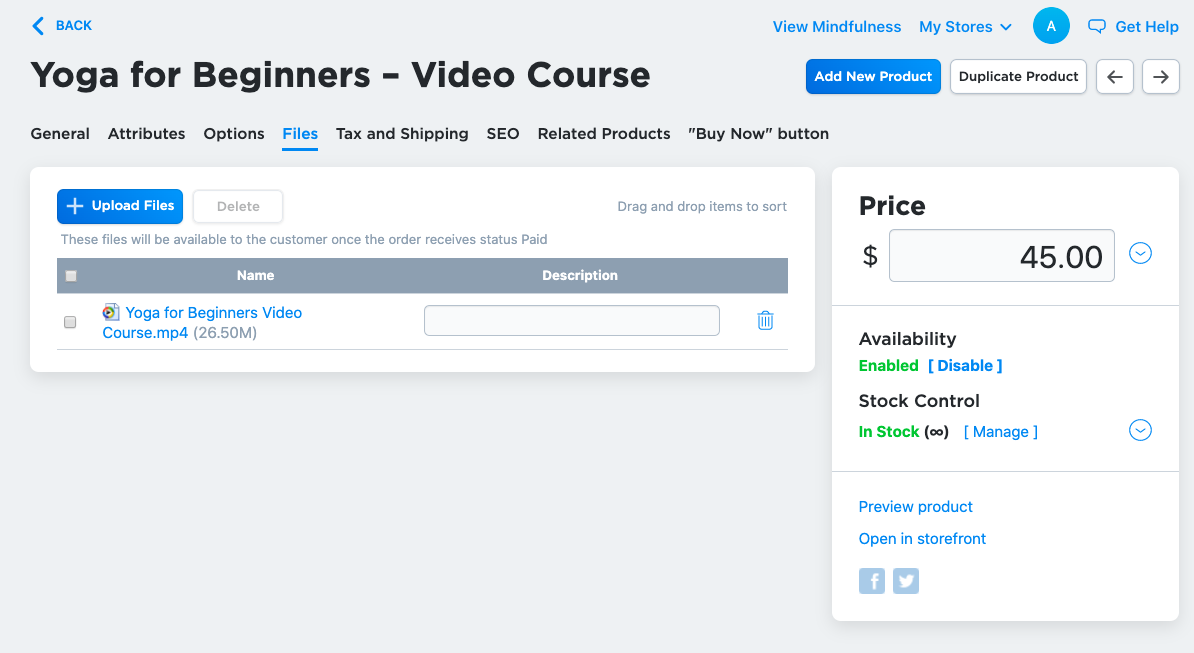
To sell video lessons on your site, you need to create a digital product.
Digital products are downloadable files in your store. They are delivered to customers automatically via unique download links after they make a purchase. You can add as many files per product as you need, every file can be up to 25 GB.
Follow this instruction to create a digital product in your store.

Adding a digital product in an Ecwid store
How do I run an online class?
If you train via an online class, your customers should receive a link to your personal online room when they make a purchase. Here’s how you can do that:
- Create a meeting in a video conferencing app of your choice, for example, Zoom, Google Hangouts, ClickMeeting, GoToMeeting, etc.
- Copy a link to the meeting and paste it into a text file.
- Add this file to your store as a digital product using this instruction from our Help Center.
Your clients will get this file with a link to a meeting when they purchase your class:

How do I add customers to my webinar automatically?
If you host webinars that include a large group, you may find it daunting to add clients manually. You can automate this task by connecting your Ecwid account to your webinar service with Zapier. This service allows you to automate daily tasks that involve using Ecwid and other applications.
Here’s how it works: you create a “Zap” by defining an action and setting it up to be repeated when certain triggers happen. In this case, a “trigger” that you set up in Zapier is a new order placed in your store, and the resulting “action” is adding people who made a purchase to your webinar. This way Zapier automatically populates your webinar and you don’t have to manually add attendees.
Before you start, make sure that Zapier supports a video conferencing app you use for webinars. You can check it on their website.
We’ll explain how to use Zapier to connect Ecwid and ClickMeeting. You can connect your Ecwid account to other webinar apps of your choice, the steps are similar. If you use Zoom, you should know that their webinar option comes as a separate paid
Here’s how to create your Zap to invite customers to your webinar automatically:
- Go to Ecwid App Market and install the Zapier app.
- To open the Zapier app, go to your Ecwid Control Panel → Apps → My apps, find Zapier and click “Open app.”
- In a new window, click “Make a Zap.”
- Give a name to your Zap. For example, “Adding webinar attendees.”
- Find “1. When this happens …” field, search for Ecwid and select it in “Choose App”.
- In “Choose Trigger Event” state “New Paid Order”. Click “Continue”:

- Choose your Ecwid account and click “Continue.” You’ll be able to test your trigger to confirm the right account is connected and your trigger is set up correctly.
- Scroll to “2. Do this …” and in “Choose App” select ClickMeeting.
- In “Choose Action Event” select “Add New Registrant” and click “Continue”:

- Connect your ClickMeeting account and click “Continue”.
- In the “Customize Registrant” block, fill in the following fields: Name and Last Name — Billing Person Name, Email Address — Email. In Room ID, insert the Room ID of your webinar in ClickMeeting. You can find the Room ID in your webinar details in your ClickMeeting account.
 The “name” fields are used to personalize webinar invites that will be sent to your customers. When you set “Billing Person Name” as a value, the app will use the name & surname that a customer provided when paying for an order in your store.Some of the various payment methods available in Ecwid don’t require customers to enter their name (like PayPal). However, when creating a Zap you cannot skip the “name” fields. But you can enter their email as a value for Name, Last Name and Email Address. This way, you’ll be able to send webinar invites using emails only. Use this workaround to ensure all your customers receive webinar invites, no matter what payment method they choose.
 - Click “Continue.”
- Click “Test & Continue” to check that your zap works right.
- Click “Done editing” and turn on your zap.
After you set up this zap, customers that made a purchase in your store will receive an invitation to your webinar in their inbox:

Podcast:
How to live stream video on your website
According to Livestream survey, 82% of consumers prefer live videos from a brand to social posts. Video is also one of the most engaging types of content, so why not give it a try! And with Ecwid

Here’s how you can use video streaming in your store:
- Make a Q&A session with your сustomers
- Give a free demo training as a promo for your services
- Make a live stream with an influencer to attract new audience
- Host an online event, for example, a game night.
You can go live on your website for special occasions like a new product launch or try hosting a regularly streamed show. For example, Tom McLaughlin, founder of Epic Woodworking, goes live every week at the same time to share woodworking tips and techniques and answer customers’ questions.
With Ecwid, you can live stream your video directly in your storefront, all you have to do is copy and paste the video embed code.
Here’s how to add a live video to your website:
- Start a live video on your Facebook, Instagram, YouTube, or any other platform.
- Copy the video embed code.
- In your Ecwid Control Panel, go to Catalog → Categories.
- Choose the category you want to add live video to. To display the content on the store home page, choose Store front page category.
- Paste the code into the Description field and save the changes.

That’s it!
Read more about using live video in your online store.
What Else You Can Sell on Your Website
Apart from selling video lessons, courses or webinars, think about adding other types of products! Here are a couple of ideas that can fit a website of almost any coach, instructor, expert, or teacher.
Gift cards
Once a perfect
Pro Tip: You can customize your gift cards so that they suit your business best.
Other digital products
Guides, checklists, manuals, printables, recipes, you name it! You can sell all kinds of digital products related to your business. For example, if you sell drawing classes, you can offer your clients DIY printable wall art. Psychologists can sell
Don’t know what digital products to sell? Browse our list of digital products ideas, most of them can be adapted to almost any business.
Pro Tip: Free digital products meant for quick consumption are great for growing your email list. Add a digital product with zero price that is related to your course or field of expertise.
Your merch
You can sell branded

Soundwave Art merch with the store’s logo
Don’t want to deal with shipping and printing merchandise yourself? With Ecwid, you can sell merch on demand with the Printful app. Here’s how it works: you choose a product you want to sell and choose a design for it. When someone orders this branded item on your website, Printful makes the product and ships it to the customer.
Podcast: Create a Print on Demand Merchandise Store
Start Selling Online Courses Today
This new world and the constant changes can feel overwhelming, but it also offers new prospects and opportunities. For those willing to change and adapt, recognize the new possibilities for creating and selling online courses. The sooner you can learn and pivot your business, the more of an advantage you will gain over the competition.
Need some help at the start? Download our Ecwid
Happy selling!
- Online Education Business: Discover the Best Platform for Selling Your Courses Online
- How to Create an Online Course to Increase Revenue
- How To Price Your Online Course: 5 Pricing Models
- Store Examples that Sell Education Courses
- How to Create and Sell Online Courses as an Influencer
- How to Start Selling Online Courses as Quickly as Possible


