Selling online with Ecwid
But what if you are a talented blogger but not a business person yet? In this case, your blog can start making money too. The fastest and the easiest way to do it is Ecwid’s Buy Button for a blog.

Essentially, it’s an embeddable product card and checkout that can be placed on any website. Buy Button allows your customers to purchase your products in just one click — they don’t even have to leave your site, and they won’t be directed elsewhere to complete their checkout.
In this post, we’ll show you how to take advantage of the Ecwid Buy Button to earn on your blog.
Selling From Your Blog With the Buy Button
If you want to make money through your blog, one of the simplest ways to start selling is to add an Ecwid Buy Button.
It’s a smart and beautiful widget located on a specific page or blog post that links directly to your product. You can add a Buy Button to any page by simply
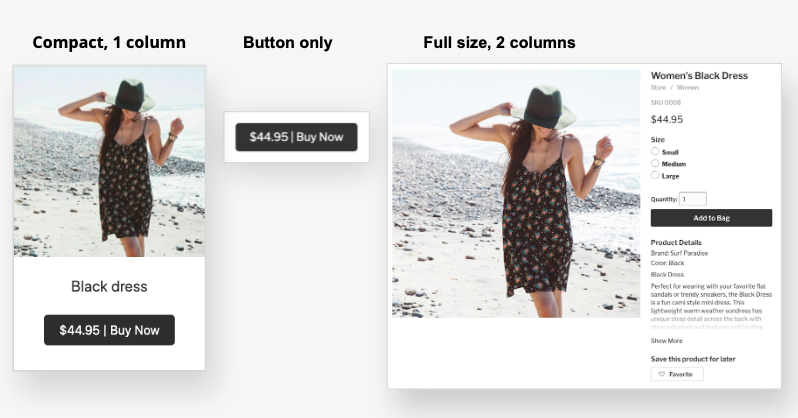
A Buy Button may display information like product images, description, price, or quantity. You can choose from different layout styles to display as much information as you need.

The widget automatically adapts to your blog’s colors and looks authentic, as if it was always part of your website. Another benefit is that your customers will stay on your blog, even during the checkout process.
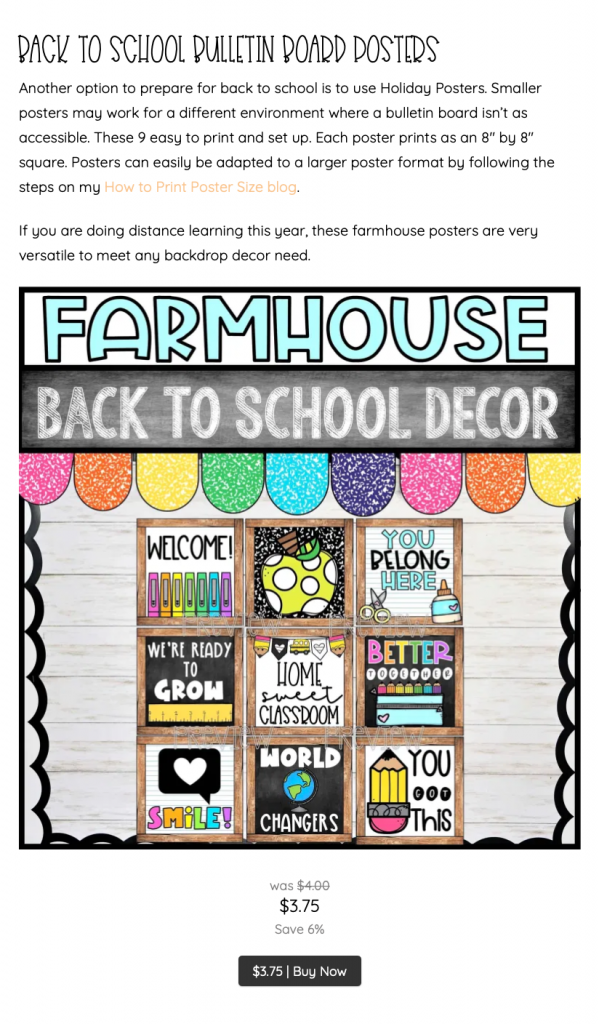
The “Confetti & Creativity” blog is a good example. It’s a website of a teacher and a blogger where you can shop classroom decor and templates for distance learning. Various downloadables are available for consumers to purchase directly within the blog post — at the moment when they are engaged with the content and are interested in the product.

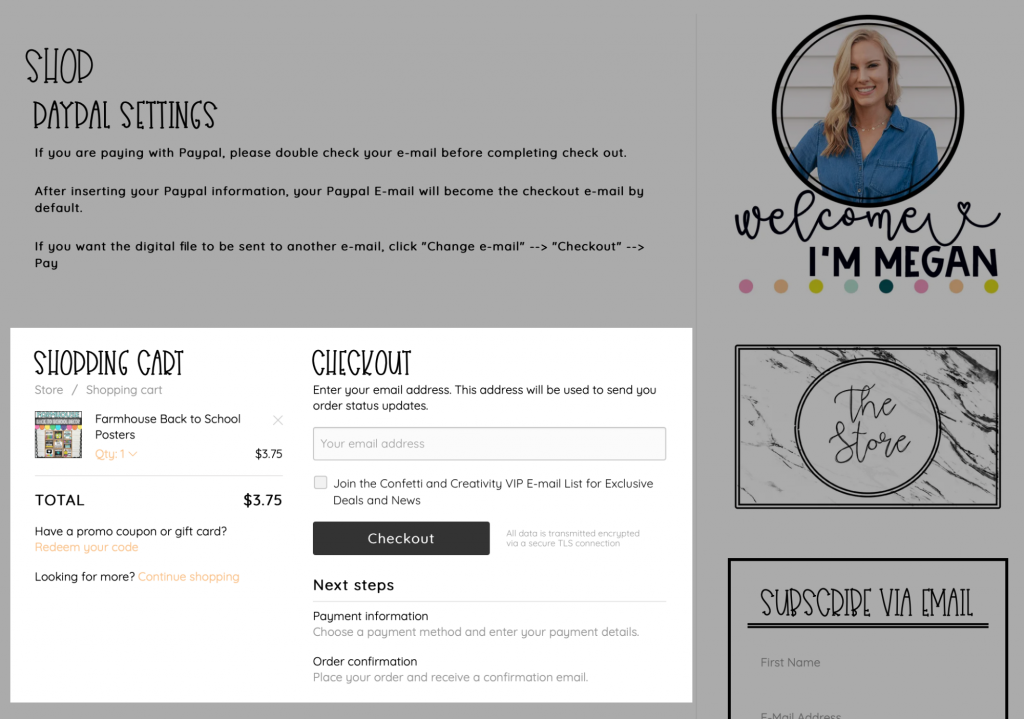
This checkout process keeps customers on the blog while they make a purchase:

Also: Buy Button: 7 Ways to Sell Beyond a Storefront
How to Add Buy Buttons to Your Blog
Ecwid is the easiest way to sell as many or as few items as you want. By embedding your items into your blog posts, you can sell right where your content is and where your readers already are.
Read below for a
1. Sign up for Ecwid E-commerce
Creating an Ecwid account won’t take a lot of time. Ecwid offers a full toolkit for successful online selling, including:
- Selling simultaneously on multiple websites
- Selling up to ten products
Mobile-responsive storefront and more.
You can have a closer look at the Ecwid plans on our pricing page.
2. Create a Buy Button
Before adding Buy buttons to your blog, you need to set up your Ecwid account: add your product(s), as well as payment and shipping options. (Skip shipping setup if you sell services or downloadable products.)
After that, you can create your Buy Button:
- Go to the Overview page.
- Scroll down to the “Buy buttons” card and click “Get Started.”
- Pick your product.
- Select the Buy Button layout and pick what product details you want to show.

- Click “Generate code.”
- Click “Copy code.”
3. Add Buy Button to your blog
To add the button to your blog, log into your website backend and open the blog page where you want to display your Buy Button. Paste the copied code to your blog, just like embedding a YouTube video, and save the changes. That’s it
Learn more about creating and adding Buy Buttons to your blog in Ecwid Help Center.
What Else Should You Know About the Ecwid Buy Button?
Adding the Ecwid Buy Buttons to your blog also means you get all the necessary
- No transactional fees.
- The secure checkout process keeps customers on your blog while they shop.
- You can add multiple sales channels, including Facebook, marketplaces, and points of sale, and you can manage all the channels from one convenient place.
- Offer customers the choice of multiple online and offline payment options, including Apple Pay, Visa, MasterCard, PayPal, and 50+ other options.
- Ecwid
E-commerce takes care of everything. You get a reliable, secure store, and you don’t need to worry about SSL. - You can manage your store on iOS or via the Android app.
Focus on being the professional blogger you want to be, and Ecwid


